
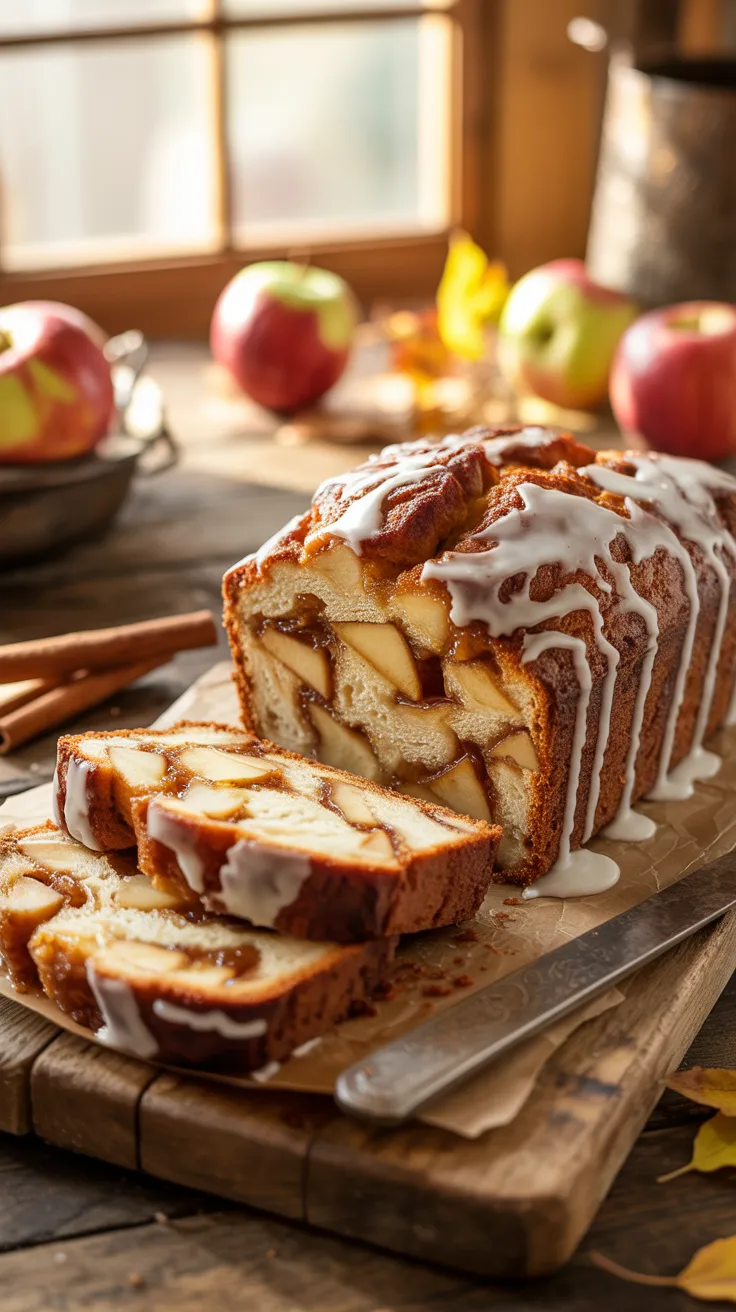
There’s something timeless and comforting about a loaf that fills the kitchen with warm cinnamon and apple aromas—and few recipes deliver that feeling as effortlessly as Easy Amish Apple Fritter Bread. This quick, no-yeast loaf captures everything you love about classic apple fritters: tender, cinnamon-laced apples, a moist crumb, and a glossy vanilla glaze that crackles as it sets. Made with pantry staples and everyday apples, it’s the kind of recipe you’ll bake for lazy weekends, potluck brunches, or a cozy dessert you can slice all week long.
Below you’ll find a carefully tested method, the best ingredient swaps and variations, and all the tips you need for a moist crumb, a well-defined cinnamon swirl, and a glaze that turns just right. Whether you’re new to baking or a seasoned pro, this recipe brings Amish-inspired simplicity and homestyle flavor to your table, without fuss.
Table of Contents
What makes this Amish-style apple fritter loaf so easy
Amish baking is beloved for honest, straightforward ingredients and techniques that make sense in a busy kitchen. This loaf leans into that tradition: there’s no yeast to proof, no fry oil to heat, and no tricky laminations or rests. It’s a classic quick bread batter layered with cinnamon apples and finished with a simple vanilla glaze.
Here’s why it works:
- Balanced moisture: Apples contribute natural juice and tender bits, while butter (or oil) and milk create a plush crumb that stays moist for days.
- A dependable batter: The core recipe follows the standard quick-bread balance of fat, sugar, flour, and leavening, so it mixes easily and bakes predictably.
- Controlled sweetness: You get layered cinnamon-sugar in the loaf plus sweetness from the glaze, with options to dial it up or down.
- Easy technique: Half the batter goes in the pan, then apples and cinnamon sugar, then the rest of the batter and apples—finished with a gentle swirl. No overthinking; just rustic, beautiful results.
Texture-wise, think of a hybrid between coffee cake and a bakery-style apple fritter. The crumb stays soft, the apples remain juicy (not mushy), and the glaze adds a delicate, satisfying snap. If you love the fried version but want something oven-baked and sliceable, this bread hits the spot. It’s also flexible: swap in different apples, tweak spices, or add nuts without risking collapse or dryness. And because it’s sturdy yet tender, it travels well—perfect for sharing, gifting, or a bake-ahead brunch centerpiece.
Ingredients for Easy Amish Apple Fritter Bread
This loaf uses simple staples. Choose crisp, flavorful apples and fresh spices; they do most of the heavy lifting.
For the apples:
- 2 cups peeled, cored, and diced apples (1/4–1/2 inch) — Honeycrisp, Granny Smith, Fuji, or Pink Lady
- 2 teaspoons lemon juice (to prevent browning)
- 1 tablespoon granulated sugar (to lightly macerate; optional)
- 1 teaspoon ground cinnamon
For the cinnamon-sugar swirl:
- 1/3 cup granulated sugar
- 1 1/2 teaspoons ground cinnamon
- Pinch of fine salt
For the batter:
- 1/2 cup unsalted butter, softened (or 1/2 cup neutral oil for an extra-tender crumb)
- 3/4 cup granulated sugar
- 1/4 cup light brown sugar, packed
- 2 large eggs, at room temperature
- 1 1/2 teaspoons pure vanilla extract
- 1 1/2 cups all-purpose flour (spooned and leveled; about 190 g)
- 1 1/2 teaspoons baking powder
- 1/2 teaspoon fine salt
- 1/2 cup whole milk or buttermilk, at room temperature
- Optional warm spice add-ins: 1/4 teaspoon ground nutmeg or cardamom
For the glaze:
- 1 cup powdered sugar
- 2–3 tablespoons milk or cream (or apple cider for a fruity note)
- 1/2 teaspoon pure vanilla extract
- Pinch of salt (to balance sweetness)
Helpful notes:
- Apples: Mixing a tart apple (Granny Smith) with a sweet-tart variety (Honeycrisp) gives bright flavor and great texture. Avoid mealy apples.
- Butter vs. oil: Butter adds classic flavor, while oil delivers an ultra-soft crumb that stays moist longer. Both are excellent; pick your preference.
- Milk vs. buttermilk: Buttermilk adds tang and tenderness. If using whole milk, you can add 1 teaspoon of lemon juice for a light buttermilk effect.
- Cinnamon levels: This loaf leans cinnamon-forward. Reduce by 1/2 teaspoon if you prefer a subtler spice.
- Nuts and extras: Stir in up to 1/2 cup chopped pecans or walnuts, or 1/3 cup raisins or dried cranberries for added texture.
Step-by-step method for a moist, glazed loaf
Pan and oven:
- Preheat oven to 350°F (175°C). Line a 9×5-inch loaf pan with parchment, leaving overhang for easy lift-out. Lightly grease the parchment and exposed sides.
Prepare the apples:
- In a bowl, toss the diced apples with lemon juice, 1 tablespoon sugar, and 1 teaspoon cinnamon. Set aside while you make the batter; the brief maceration draws out a little juice and boosts flavor.
Mix the cinnamon-sugar swirl:
- In a small bowl, combine 1/3 cup sugar, 1 1/2 teaspoons cinnamon, and a pinch of salt. Set aside.
Make the batter:
- In a large bowl, cream butter with 3/4 cup granulated sugar and 1/4 cup brown sugar until pale and fluffy, 2–3 minutes. If using oil, whisk vigorously with sugars until slightly thickened and glossy.
- Beat in eggs one at a time, then vanilla, scraping the bowl as needed.
- In a separate bowl, whisk flour, baking powder, salt, and optional nutmeg/cardamom.
- Alternate adding the dry mix and milk to the butter mixture, starting and ending with dry (dry → milk → dry). Mix just until the flour disappears. The batter should be thick but spreadable.
Layer and swirl:
- Spread about half the batter into the prepared pan.
- Scatter half the apples over the batter (leave behind any excess liquid in the bowl).
- Sprinkle with half the cinnamon-sugar swirl.
- Add the remaining batter in dollops, gently spreading to cover without deflating the apples.
- Top with the remaining apples and sprinkle on the rest of the cinnamon-sugar swirl.
- Using a thin knife or skewer, make a few gentle S-shaped swirls through the batter, reaching the bottom of the pan but avoiding overmixing the layers.
Bake:
- Bake 55–65 minutes, until the top is deep golden, a tester inserted in the center comes out with a few moist crumbs (no wet batter), and the internal temperature reads 200–205°F (93–96°C). If the top browns too quickly, tent loosely with foil around 45 minutes.
Cool and glaze:
- Cool in the pan for 15–20 minutes. Lift out by the parchment and transfer to a wire rack.
- Whisk the glaze until smooth. When the loaf is just barely warm, drizzle generously over the top and let it drip down the sides. The glaze will set in about 20–30 minutes.
Slice and enjoy:
- For the cleanest slices, let the glaze fully set before cutting. Use a serrated knife to saw gently through the apple pieces without compressing the crumb.
Techniques for better texture and a glossy, crackly glaze
This style of loaf rewards small details. A few easy upgrades make a big difference:
Apple prep that prevents sogginess:
- Dice size: Keep pieces to 1/4–1/2 inch so they soften without going mushy.
- Drain excess juice: After the brief maceration, spoon the apples onto the batter but leave behind any pooled juice. This keeps the crumb from turning gummy.
- Optional flour toss: If your apples are extremely juicy, toss them with 1 teaspoon flour before layering.
Batter mixing for a plush crumb:
- Room-temp ingredients: Soft butter and room-temp eggs/milk incorporate air and prevent curdling.
- Gentle mixing: Overmixing toughens quick breads. Stop as soon as the flour disappears.
- Correct flour: Weigh flour or use the spoon-and-level method. Too much flour is the #1 cause of dense loaves.
Even baking and a lovely top:
- Pan size: A true 9×5-inch pan is ideal. Using an 8×4-inch pan will increase rise and bake time; watch for doneness cues.
- Tenting: If the top colors too fast, tent with foil to prevent over-browning while the center finishes.
- Internal temp: Pulling the loaf at 200–205°F ensures set structure without drying out.
Glaze that sets perfectly:
- Consistency: Start with 2 tablespoons liquid; add more by the teaspoon until the glaze ribbons smoothly but isn’t runny.
- Timing: Glaze while the loaf is slightly warm so it adheres and sets with a faint crackle.
- Flavor boosts: Swap some milk for apple cider or maple syrup; add a pinch of cinnamon or a drop of almond extract for variation.
- Double glaze: For extra sheen, glaze once warm, then add a light second drizzle after the first sets.
Variations and smart swaps that keep it simple
This Easy Amish Apple Fritter Bread is wonderfully adaptable. Use these ideas to tailor it to taste, season, or pantry supplies:
Flavor twists:
- Maple-glazed: Replace some of the glaze liquid with pure maple syrup and add 1/4 teaspoon maple extract.
- Caramel-apple: Drizzle 2–3 tablespoons jarred caramel over the first apple layer before swirling; lightly reduce the glaze or omit it.
- Chai spice: Replace cinnamon/nutmeg with a blend of cinnamon, cardamom, ginger, and a pinch of black pepper.
Texture add-ins:
- Nutty crunch: Fold 1/2 cup chopped toasted pecans or walnuts into the batter, or sprinkle on top with the final apple layer.
- Raisins or cranberries: Stir 1/3 cup into the batter for pops of sweetness and chew.
Diet-friendly adjustments:
- Gluten-free: Use a quality 1:1 gluten-free all-purpose blend; if the batter seems stiff, add 1–2 teaspoons milk to loosen slightly.
- Dairy-free: Use neutral oil instead of butter and a dairy-free milk; glaze with a plant milk or water and a touch of vanilla.
- Whole-wheat boost: Swap 1/2 of the all-purpose flour for white whole wheat; increase milk by 1–2 teaspoons if the batter thickens.
Different formats:
- Muffins: Line a 12-cup muffin pan. Layer a spoonful of batter, a few apple bits with cinnamon sugar, then top with batter. Bake at 350°F for 20–24 minutes. Glaze warm.
- Mini loaves: Divide into two 5×3-inch mini pans; bake 30–38 minutes.
- Skillet cake: Spread batter into a greased 10-inch cast-iron skillet, layer apples and cinnamon sugar, swirl, and bake 35–45 minutes.
Scaling and batching:
- Double it: Make two loaves in separate pans; rotate pans halfway through. Don’t double-bake in one oversized pan, or the center may underbake.
- Prep ahead: Dice and spice the apples up to a day in advance and refrigerate. Let them come to room temperature before layering.
Storage, freezing, and reheating for bakery-fresh slices
Handled well, this loaf stays moist for days—and freezes beautifully.
Room-temperature storage:
- Keep at cool room temp for up to 2 days. Place the loaf in an airtight container or wrap in parchment, then slip into a zip-top bag. Avoid sealing while warm; trapped steam can make the glaze sticky.
Refrigeration:
- Refrigerate for up to 5 days. Cold air can dry quick breads, so wrap well. For best texture, bring slices to room temperature or warm gently before serving.
Freezing:
- Whole loaf: Cool completely, then wrap tightly in plastic and a layer of foil (or use a freezer-safe bag). Freeze up to 3 months. For a pristine glaze, freeze unglazed and add fresh glaze after thawing.
- Sliced: Flash-freeze individual slices on a tray for 30 minutes, then bag. This lets you pull out a single piece anytime.
Thawing and reheating:
- Thaw overnight in the fridge or for a few hours at room temperature in its wrapping to minimize moisture loss.
- Warm slices in the microwave for 10–15 seconds, or in a 300°F oven for 8–10 minutes. If the glaze softens, let it cool a few minutes to reset.
Freshness tips:
- Moisture balance: Apple-heavy loaves can get tacky if sealed while warm. Always cool until the glaze is set before wrapping.
- Crumb recovery: A slightly dry slice springs back with a quick warm-up and a light extra drizzle of glaze or maple syrup.
Serving ideas, pairings, and make-ahead plans
Bring out the best in this loaf by pairing and presenting it thoughtfully.
Serving and plating:
- Brunch board: Slice and arrange with fresh apple wedges, sharp cheddar, and toasted nuts. The sweet-spicy loaf pairs beautifully with savory bites.
- Dessert plate: Serve warm with a scoop of vanilla ice cream or a dollop of whipped cream; dust lightly with cinnamon.
- Coffee companion: Its cinnamon-forward profile sings with medium-roast coffee, chai, or hot apple cider.
Make-ahead strategy:
- Bake the day before: Cool fully and glaze. The flavor deepens by day two, and slicing is neater.
- Glaze later: For transport or gifting, wrap the unglazed loaf, then add glaze just before serving.
- Party portions: Bake as mini loaves or muffins for shareable servings that stay moist and portable.
Gift it like a pro:
- Neat packaging: Wrap the cooled loaf in parchment and tie with baker’s twine. Slip a card under the twine with storage instructions and the glaze recipe.
- Seasonal flair: Add a cinnamon stick or dried orange slice to your wrapping for an old-fashioned, Amish-inspired touch.
Slice smart:
- Use a serrated knife and gentle sawing motion to preserve the apple chunks and swirl definition.
- For uniform slices, trim ends slightly, then cut into 10–12 pieces about 3/4–1 inch thick.
Troubleshooting common quick-bread issues
Even a simple loaf can misbehave; here’s how to nudge it back on track.
If the center sinks:
- Causes: Underbaking, overmixing, too much apple juice in the batter, or an oversized pan.
- Fixes: Bake to 200–205°F internal temp; drain excess apple juices; measure flour accurately; avoid opening the oven door in the first 30 minutes.
If the crumb is gummy:
- Causes: Slicing while hot, too much moisture from apples, or insufficient bake time.
- Fixes: Let it cool and set before slicing; tent and extend bake time by 5–10 minutes; ensure your oven reaches true temperature.
If the top over-browns:
- Causes: Dark pans and high sugar content.
- Fixes: Tent with foil at 40–45 minutes; move pan to a lower oven rack.
If the glaze dissolves:
- Causes: Glazing while too hot or using too thin a glaze.
- Fixes: Let the loaf cool to just warm; thicken glaze with more powdered sugar; add a pinch of salt to balance sweetness and improve set.
Conclusion
With humble pantry ingredients, a few fresh apples, and a reliable quick-bread method, Easy Amish Apple Fritter Bread brings old-fashioned comfort to any day of the week. You get tender cinnamon apples in every bite, a golden swirl, and that signature vanilla glaze—without deep-frying or complicated steps. Keep this version as your base, then riff with maple, nuts, or a caramel drizzle as the seasons change. Whether you bake one loaf for breakfast or a double batch to share, this recipe is proof that simple techniques can deliver bakery-worthy results right from your home kitchen.
FAQ
How do I keep Easy Amish Apple Fritter Bread from getting soggy?
- Dice apples small, drain any excess juices after macerating, and avoid overmixing. Bake until the center hits 200–205°F and let the loaf cool before wrapping so steam doesn’t soften the glaze.
What are the best apples for Easy Amish Apple Fritter Bread?
- Choose firm, flavorful apples that hold shape: Honeycrisp, Granny Smith, Pink Lady, or Fuji. A mix of tart and sweet apples delivers the brightest, most complex flavor.
Can I make Easy Amish Apple Fritter Bread without eggs?
- Yes. Replace each egg with a “flax egg” (1 tablespoon ground flaxseed + 3 tablespoons warm water, rested 5 minutes). Expect a slightly denser crumb but still great moisture.
Why did the center of my loaf stay underbaked?
- Common causes are inaccurate oven temp, too much moisture from apples, or using an 8×4-inch pan without adjusting time. Use an oven thermometer, drain apples well, and bake until a tester yields moist crumbs, not wet batter.
Can I reduce the sugar in this recipe?
- You can reduce the batter sugar by about 2–3 tablespoons without issue and/or use a lighter glaze. Keep the cinnamon-sugar swirl for structure and flavor, or scale it down slightly if you prefer a less sweet loaf.
How long will Easy Amish Apple Fritter Bread stay fresh?
- At room temperature, up to 2 days when wrapped; in the fridge, up to 5 days. For longer storage, freeze for up to 3 months and thaw wrapped for best texture.
Is it better to use butter or oil in this loaf?
- Butter adds classic bakery flavor; oil yields a super-soft crumb and longer-lasting moisture. Both are excellent—use butter if you prize flavor, oil if you prize tenderness and shelf life.
What’s the ideal glaze consistency?
- Aim for a thick ribbon that slowly disappears back into the bowl. Start with 2 tablespoons liquid and add more by the teaspoon. Glaze the loaf while it’s just warm for the best set and shine.